OpenAI’s ChatGPT has a new “Custom Instructions” beta feature, available to ChatGPT Plus users as of Friday (but not in the UK or EU). It seems to function as a combination of system prompt and augmented retrieval memory store. Here’s how to enable and use ChatGPT’s Custom Instructions.
Enable the Custom Instructions in Settings
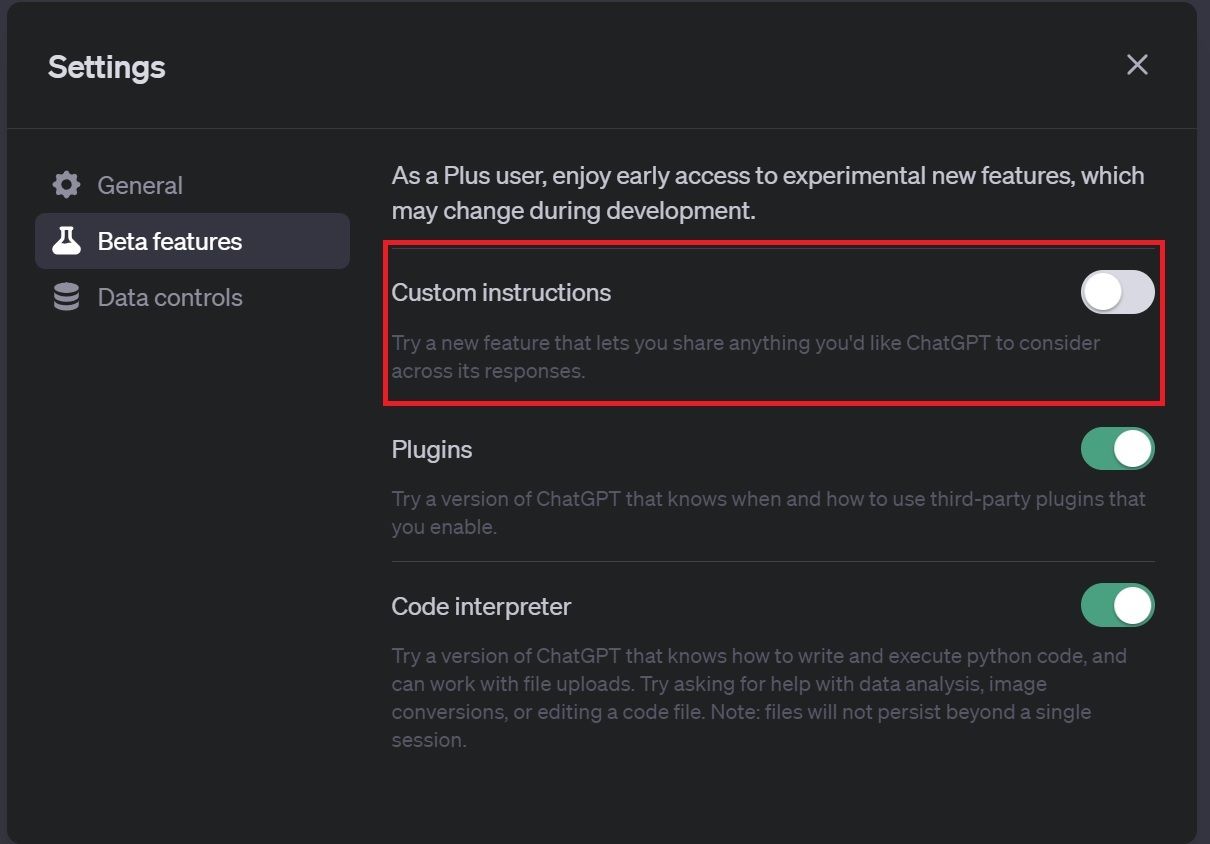
On a desktop, look for the Settings menu in the lower left of your ChatGPT screen. On mobile, look in the menu. In setting you will see Beta Features. If you have already enabled plugins, you’ll have seen this screen before. Now it has a new option to toggle on Custom Instructions.
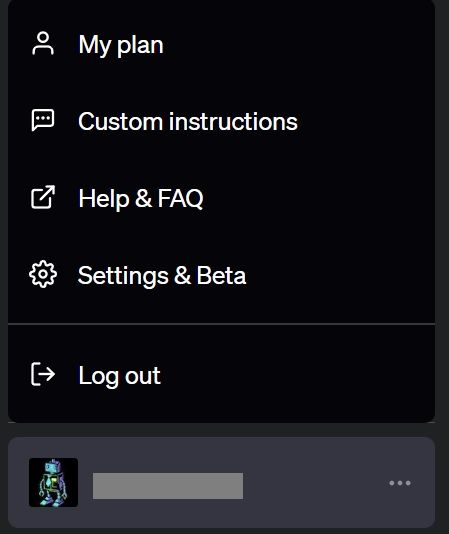
Once you’ve enabled Custom Instructions, you’ll see a new tab in the lower left of your main ChatGPT screen near Settings.
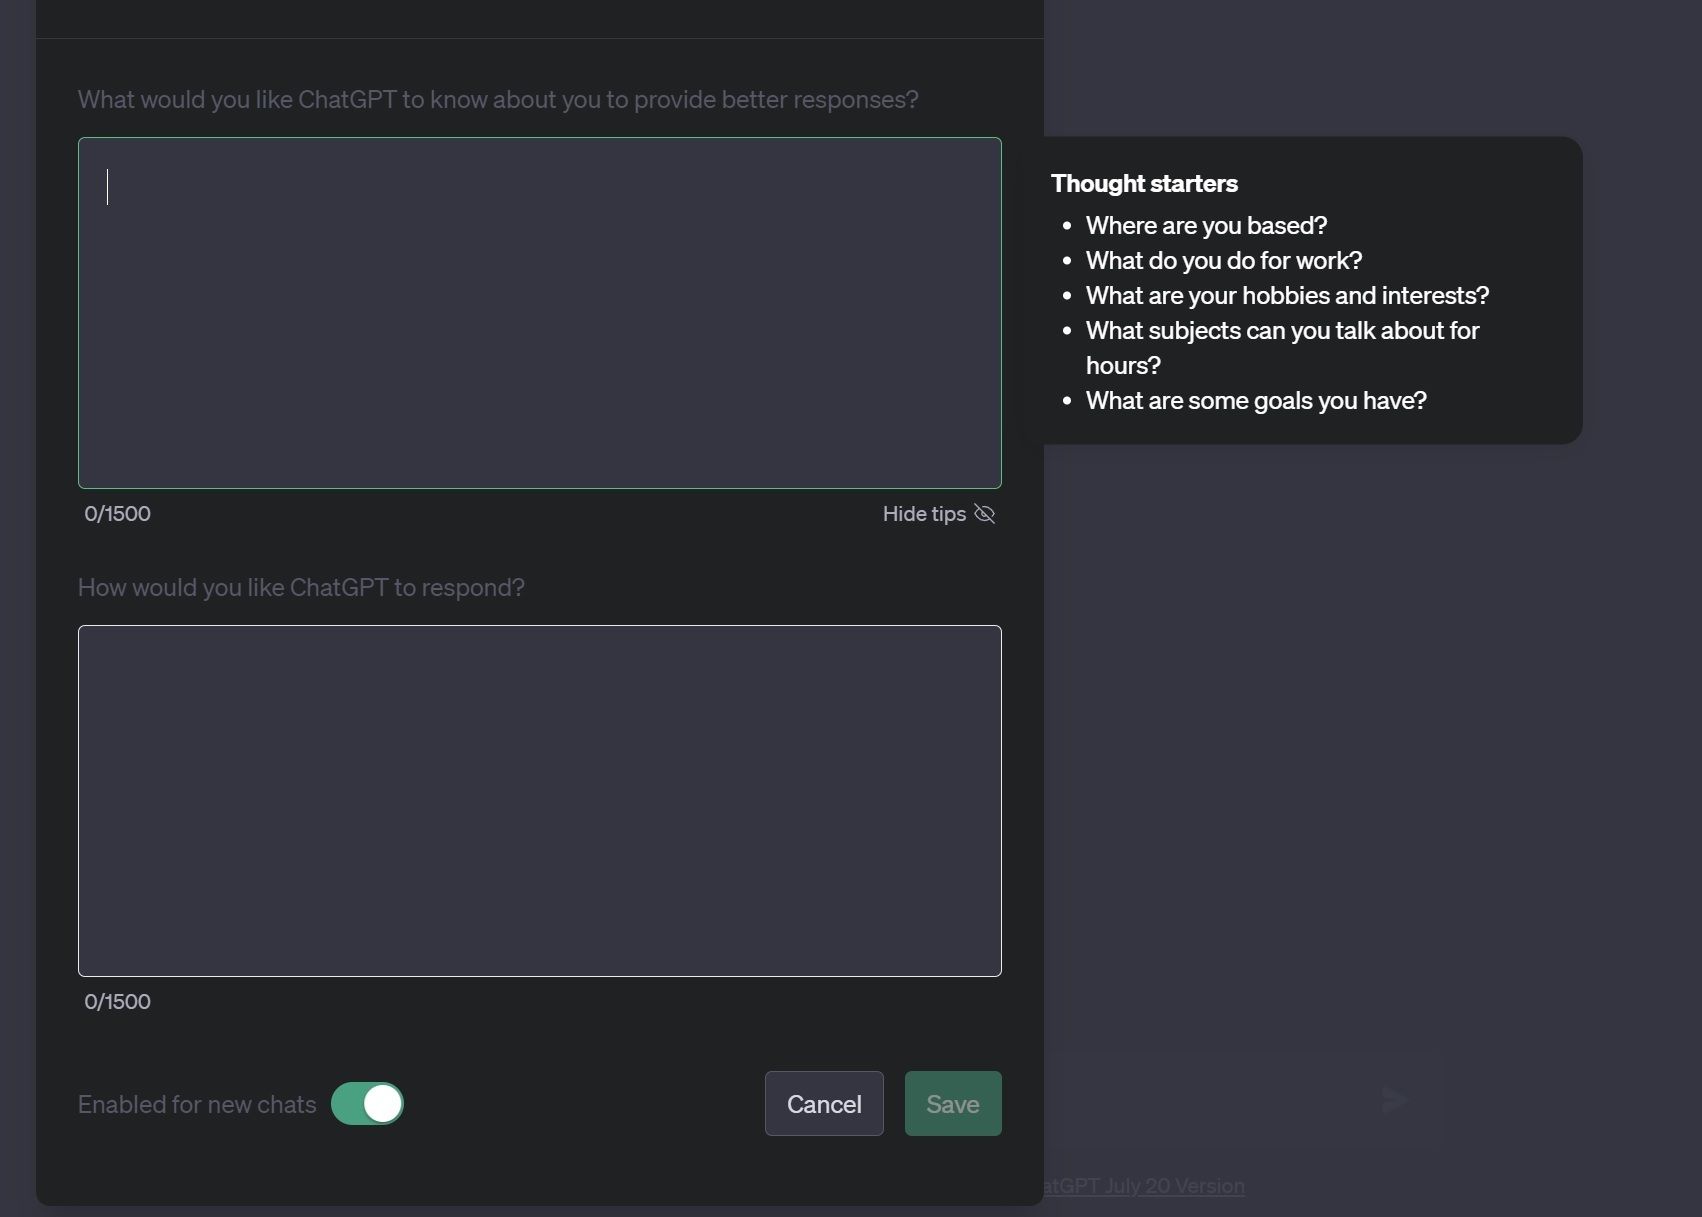
Selecting it brings you to the new screen where you can enter in your Custom Instructions for ChatGPT, as seen below:
What to Put in the Custom Instructions
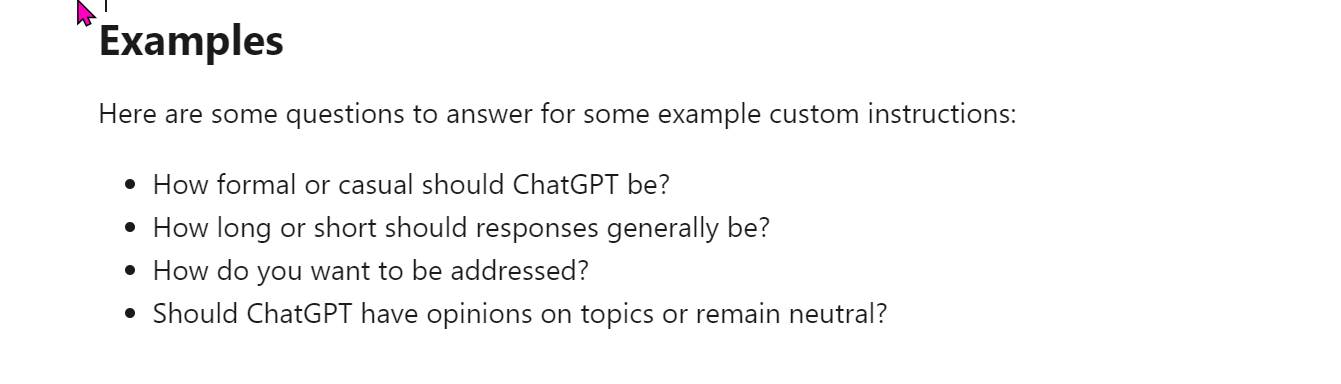
The Custom Instructions are things you want ChatGPT to know or “keep in mind” as it generates its responses. OpenAI makes several suggestions in the form of questions to answer, like “How formal or casual should ChatGPT be?” or “How do you want to be addressed?”
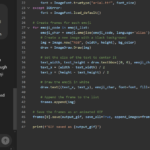
If you find you have sections of prompts that you are constantly repeating, this new feature might provide a home for them.
Start a New Chat
After updating your Custom Instructions, start a new chat so ChatGPT will load your new information. Then begin prompting as normal.


Have you tried ChatGPT’s new feature? Let us know, leave a comment below.